 How-to
Translating Vision Into Custom Home Blueprints: 2026 Guide
Table of Contents
- Start With a Clear Home Vision and Priorities
- Build Your Custom Home Design Brief
- Explore Custom Home Floor Plan Ideas That Fit Your Life
- See Your Home Before It's Built With 3D Home Rendering
- Translate Ideas Into Custom Home Blueprints
- Plan Your Custom Home Design Timeline
- Avoid These Common Mistakes When Translating Vision Into Custom Home Blueprints
- Conclusion: From Vision to Reality
- Frequently Asked Questions
Last Updated: October 16, 2026
Start With a Clear Home Vision and Priorities
A clear home vision is a short written statement of how you want to live in your new house, not a list of rooms.
Most homeowners skip this step. They jump straight to floor plan websites and save a hundred photos. That feels productive. It isn't.
Here's what we see at Duralast Design Build: projects stall when the vision stays vague. So start here instead.
- Write one sentence about your morning routine
- List the three rooms you use most today
- Name two things your current home gets wrong
- Decide what "done" looks like for your family
That's your vision statement. Keep it under 100 words.
Build Your Custom Home Design Brief
A custom home design brief is a written document that translates your vision into specific requirements for your design team. It covers your budget range, square footage, room list, style preferences, and non-negotiables.
This is where your vision becomes usable. A good brief answers the questions a designer would otherwise ask you ten times.
Include these sections:
- Budget range, with a contingency line
- Square footage targets, minimum and ideal
- Room list, with sizes and relationships
- Style direction, with photos attached
- Must-haves vs. nice-to-haves
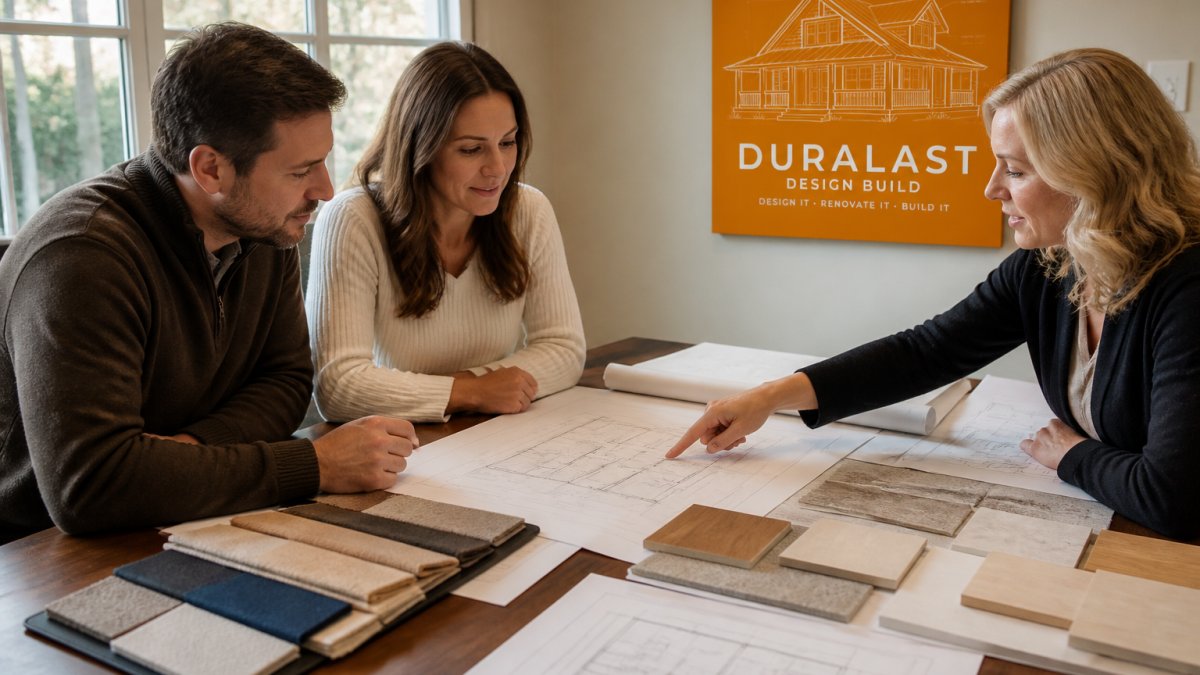
Explore Custom Home Floor Plan Ideas That Fit Your Life
Good custom home floor plan ideas start with circulation, not decoration. Circulation is how people move through the house. A plan that flows well feels bigger and calmer than one that doesn't.
Walk through your day room by room. Where do you drop keys? Where does laundry pile up? Where do kids do homework?
Then apply these filters:
- Zoning: separate loud areas from quiet ones
- Sightlines: can you see the front door from the kitchen?
- Flexibility: can a study become a bedroom later?
- Storage: closets and pantries, sized realistically
- Daylight: which rooms get morning sun?
Compare plan styles side by side before you commit:
| Plan Type | Best For | Watch Out For |
|---|---|---|
| Open concept | Entertaining, family time | Noise travel, limited wall space |
| Split bedroom | Privacy for parents and kids | Longer hallways, higher cost |
| One-story | Aging in place, accessibility | Larger footprint needed |
| Two-story | Narrow or sloped lots | Stairs, future mobility needs |
See Your Home Before It's Built With 3D Home Rendering
3D home rendering is a computer-generated image of your home built from the design model, showing materials, light, and scale before construction starts.
This step catches problems early. A kitchen that looks fine on paper can feel cramped in three dimensions.
What to review in a rendering:
- Ceiling heights and how rooms feel at eye level
- Cabinet and counter layouts in the kitchen
- Window placement and where light lands
- Exterior materials, color, and trim
- Furniture scale in each room
Many design teams now offer virtual walkthroughs and 360-degree views. Use them. Walking a space in a headset beats squinting at a plan every time.
Translate Ideas Into Custom Home Blueprints
Custom home blueprints are the scaled, technical drawings a builder uses to price, permit, and construct your house. They convert everything you've decided so far into instructions a crew can follow. The translation is not a single handoff. It is a staged workflow, and each stage produces a different kind of document you will be asked to review and approve.
Here's the workflow we use:
- Concept design. Rough layouts and massing, usually two to three options. Deliverable: schematic floor plans and a site diagram. You approve a direction, not dimensions.
- Design development. Refine the chosen option. Add dimensions, ceiling heights, door and window sizes, and material direction. Deliverable: dimensioned floor plans and preliminary elevations.
- Construction drawings. Full drawing set. Floor plans, elevations, sections, details, and schedules. This is the document the builder prices and builds from.
- Engineering. Structural, mechanical, electrical, and plumbing drawings added by licensed engineers and trades. These sheets coordinate with the architectural set.
- Permit set. Drawings formatted for local review and approval, often with a code-compliance summary and energy documentation.
- Bid set. Final documents sent out for pricing. A complete bid set should be identical to the permit set unless the scope changed.
What's Actually in a Drawing Set
A complete residential drawing set typically runs 20 to 40 sheets depending on size and complexity. Knowing what each sheet does lets you review with confidence instead of guessing.
- Cover sheet and index. Project address, sheet list, and general notes.
- Site plan. Lot lines, setbacks, easements, driveway, grading, and utility connections.
- Floor plans. Room layout, dimensions, door and window swings, and fixture locations.
- Exterior elevations. All four sides, showing roof pitch, window heights, and material transitions.
- Building sections. A cut-through view showing floor-to-floor heights, framing, and insulation.
How to Read the Set Like a Story
Read in this order and each layer answers a question the previous one raised:
- Site plan first. Where does the house sit, and how does it face the sun and street?
- Floor plans next. How do you move through the house, and do the rooms match your brief?
- Elevations. What does the house look like from outside, and do window heights match interior furniture?
- Sections. How tall are the spaces, and how is the building assembled?
- Details and schedules. What exactly is specified, and does it match your selections?
Revision Management and Decision Checkpoints
Most design contracts include a set number of revision rounds per phase. Beyond that, additional rounds are billed hourly. Ask for the revision limit in writing before you sign.
Use a simple checkpoint system:
- Collect feedback in one place. Written comments on a marked-up PDF beat verbal notes in a meeting.
- Consolidate before sending. One consolidated comment list per round prevents contradictory instructions.
- Approve in writing at each phase. A short email confirming "approved for next phase" is enough.
- Freeze decisions at milestones. Once construction drawings begin, changes to layout or structure trigger rework across multiple sheets.
A late change to a wall location can ripple into framing, electrical, plumbing, and finish schedules. That is why the cost of a change rises sharply the later it lands. The cost of a change rises sharply the later it lands.
Unlimited revisions without checkpoints is one of the most common causes of blown design budgets. Set a revision limit and a written approval at each phase.
Ask your designer for a marked-up PDF of the previous round alongside the new drawings. Seeing what changed is faster than re-reading the whole set.
Plan Your Custom Home Design Timeline
A custom home design timeline runs from first meeting to permit-ready drawings in phases, and each phase depends on decisions you make. Miss a decision, and the schedule slips.
Expect these stages:
- Vision and brief: 1-3 weeks
- Concept design: 3-6 weeks
- Design development: 4-8 weeks
- Construction drawings: 6-12 weeks
- Engineering and permit review: 4-10 weeks
Total design time commonly lands between five and nine months before a shovel touches the ground. Construction itself typically adds another 10 to 16 months depending on size, site, and market conditions.
The Decision Calendar
Ask your builder for a decision calendar. It lists what you need to choose and when, mapped to the design phase where each choice locks in. A typical calendar looks like this:
- During concept design: lot survey, site orientation, square footage target, room list, and overall style direction.
- During design development: exterior materials, window types, roof form, kitchen layout, and major fixtures.
- Before construction drawings: cabinetry, countertops, flooring, plumbing fixtures, lighting plan, and HVAC strategy.
- Before permit submission: energy compliance documentation, structural engineering, and any jurisdiction-specific forms.
Selections that arrive late force the designer to either hold the drawings or issue revisions. Both cost time and money.
Site Conditions, Zoning, and Code Constraints
Your lot shapes the timeline before design even starts. A survey and a zoning review should happen in the first two weeks.
- Setbacks and lot coverage. Local zoning limits how close you can build to property lines and how much of the lot can be covered by structures.
- Height limits. These cap roof peak and sometimes mean the difference between one story and two.
- Easements. Utility and drainage easements can remove buildable area from the lot.
- Slope and soils. A steep lot may require retaining walls or a geotechnical report, adding weeks and cost.
- Floodplain and wetlands. These designations trigger additional permitting and can restrict footprint.
A common pattern is for homeowners to fall in love with a plan before checking setbacks. Confirm what the lot allows before you commit to a footprint.
Permitting and Review
Permit review time varies widely by jurisdiction. Build in buffer.
Most jurisdictions require:
- A complete architectural drawing set
- A site plan and grading plan
- Structural engineering sealed by a licensed engineer
- Energy code compliance documentation
- Trade permits for electrical, plumbing, and mechanical, often pulled separately
Incomplete submittals are the most common cause of permit delay. A pre-submittal meeting with the local building department, where offered, can catch issues before they cost you a review cycle.
The Cost of Delay
Every week of delay in design pushes construction back the same amount, and construction costs tend to rise over time. A design pause of two months can mean the same house costs more to build when bids finally go out. Interest rates on construction loans also accrue during the delay.
Set a revision checkpoint after each phase. Approve in writing, then move on. It keeps the project honest and the schedule intact.
The most expensive timeline mistake is treating selections as a post-design activity. Pick finishes during design development, not after construction drawings are complete.
Avoid These Common Mistakes When Translating Vision Into Custom Home Blueprints
The biggest mistake is treating design as a series of isolated choices. Vision, brief, plans, and drawings are one chain. Break a link, and the house reflects it.
Watch for these:
- No written brief. Verbal wishes get lost between meetings.
- Budget creep. Adding square footage mid-design blows the number apart.
- Too many cooks. Five opinions on every decision stalls the project.
- Ignoring the site. Slopes, setbacks, and easements shape what you can build.
- Skipping 3D review. Problems found on screen cost far less than problems found on site.
Set a revision checkpoint after each phase. Approve in writing, then move on. It keeps the project honest and the schedule intact.
Conclusion: From Vision to Reality
Turning a vision into custom home blueprints takes structure, not luck. Write the vision, build the brief, test ideas in 3D, and lock decisions before drawings are finalized.
Duralast Design Build handles this as one integrated team. You get expert guidance through every step, custom blueprints tailored to your home, and a licensed, bonded, and insured builder with more than two decades of experience.
Schedule now with Duralast Design Build and start turning your vision into a home you'll live in for years.
Frequently Asked Questions
How do you turn ideas into custom home blueprints?
It starts with a vision statement and a design brief that lists your must-haves, wants, and budget. A designer then develops concept plans and floor plans, which you review and refine. After revisions, the final custom home blueprints are drawn and checked for permits. Each step keeps your original vision front and center.
What should I prepare before meeting with a home designer?
Bring a written vision statement, photos of styles you like, a list of rooms and functions, your budget, and any site survey or lot information. Also note your must-haves versus nice-to-haves. The more detail you provide upfront, the faster your designer can translate your vision into custom home blueprints.
How long does it take to design custom home plans?
The custom home design timeline typically runs from first meeting to permit-ready drawings. Revisions and permit reviews can add time. Your builder can give a more specific schedule.
What is the difference between a concept plan and construction blueprints?
A concept plan shows the basic layout, room sizes, and overall look, often with 3D home rendering. Construction blueprints are detailed drawings with dimensions, materials, structural notes, and electrical plans. You approve the concept before your designer turns it into the final custom home blueprints used for permits and building.